
Showing posts with label Differentiation. Show all posts
Showing posts with label Differentiation. Show all posts
Monday, October 31, 2011
Monday, October 10, 2011
READING VARIETY OF GENRE

Sunday, September 11, 2011
JOURNAL
JOURNAL PAGES:
Make sure you utilize both front and back sides of the Journal or you will run out of room. You glue/staple items into the left side of the Journals, or you can have a JOURNAL MOM do it, that comes once a month to complete your Journals. I would always do the mom's child's Journal to show the Parent Volunteer what I wanted the entries to look like and on what page. I added stickers periodically to give the Journal a bit of color. As you get better, you will be able to sit at your desk and add pages to Journals as the children are working on the project.
NONE OF THE JOURNAL WAS DONE DURING FREE TIME. I SCHEDULED THESE ACTIVITIES INTO MY DAY AS BEST AS I COULD. I USED THE JOURNAL TO TEACH WHAT I EXPECTED OUT OF THE STUDENTS AND AS A SPECIAL MEMORY OF THIRD GRADE.
1. Take a DIGITAL PHOTO of each child, in front of a nice colorful area in your classroom or outside. It can then be printed out on the color machine at school. No cost to you! Glue the picture on the inside front cover of the Journal, making sure you write the date and grade.

2. WELCOME FROM PAST STUDENTS - You will have to bypass this the first year, and do it at the end of the year, for the following year. Make sure you put the completed letters where you can find them at the beginning of the following year. I hand them out the 2nd day of school because you typically have a very busy first day, putting away all the student supplies and settling the students. You see they are in PRINT. I tell the students at the end of the year that NEW 3rd GRADERS might not be able to read cursive.

3. FIRST DAY FEELINGS This page may not be grade appropriate for you. You can find an alternative on the web if you look hard enough, or write the questions you want. http://okscribbler.blogspot.com/2010/08/beginning-of-year-get-to-know-you.html
4. FIRST DAY WRITING
I wrote on the board: This year I am a 2nd grader. Yesterday was the first day of school. First, I _____. Then, I _____. Next, I _____. My best friend in my class is _____. Finally, I _____. I know I am going to love _____ grade.
You need to discuss this assignment in DETAIL and write ideas on the board, or a chart so children can use them in their writing. Change the format as needed. Of course you will focus on the concepts your students need. The focus of this assignment was: paragraph organization and movement of writing with time order words (first, then, next, finally). I did not teach the concepts. I modeled it on the board. Other concepts discussed and expected to be seen were correct use of punctuation and capitalization.

5. SILLY HOME WORK - This assignment was sent out the 1st day of school. I explained to the children that good students always did their homework. I added that sometimes their homework would involve other people in their families. BUT, WE ALWAYS BRING BACK OUR HOMEWORK! I called each student that evening and welcomed them to my class, asked how the 1st day went, if they did their homework, and was it in their homework folder. PARENTS LOVED THAT (by the way, I did not talk to the parent...it was a child call...if child was not their, I left a brief message. THIS WAS NOT ABOUT THE PARENTS!

6. SUMMER READING LIST - If your school does this, I gave a treat after I collected them. If a child was new to our school, I sent a note to the parents asking for a list of the books they read over the summer and when it was brought in, I gave them the treat.

7. FIRST DAYS IN 3rd GRADE PICTURES - Parents loved lots of photos. Now you can take tons with a digital camera and print them on your school machine. Not as nice looking, but sure saves on your money. If parents bring in pictures from Field Trips, I try to divide them up among the books.
8. MEMORIES OF 2nd GRADE WRITING -
I wrote on the board: My favorite memories of Second Grade are ____(1)_____, ____(2)_____, ___(3)______. A sentence about (1). A sentence about (2). A sentence about (3). A final sentence about 2nd grade.
You need to discuss this in DETAIL and write ideas on the board, or a chart so the children can use them in their writing. Change this idea as you need. Of course you will focus on the concepts your students need. The focus for this paragraph was organization - writing three ideas in the TOPIC SENTENCE and then expanding the ideas in the THREE DETAIL SENTENCES. I did not teach that concept, it was modeled on the board. I did expect proper capitalization and punctuation.

9-10 APPLE/SUN COLORING - I taught how to color by using papers like these. You purchased the book last year from me - (oops, it is upstairs in your stack of stuff that I am copying before I give to you.) I will send you copies and finish copying and get to you ASAP. ANYHOO... The apple was a study of cool and warm colors. Choose 2 cool colors for background and then 2 warm colors for the apple (dark red/red). I insisted on NO WHITE SHOWING and COLORING IN ONE DIRECTION. So this was not a fun sheet, that was wasting time. I was teaching FOR THE FUTURE COLORING SKILLS. By the way, I also taught CUTTING SKILLS by having them cut the trim off of their work as close to the black line as possible WITHOUT cutting into the black line.
http://okscribbler.blogspot.com/2011/08/johnny-appleseed-coloring.html

12-13. SCRIBBLES – I introduced Scribbles as a way for the students to use their “free time” when they were done with any work and to help them grow in their personal writing skills. The first time we did a Scribble, I handed out the same one to each student. After we had drawn and colored our pictures, I had show and tell. This way the students could see how anything they chose to draw was fine. There was no set answer. Then, we wrote our stories the next day. Everyone had fun.
I also put a Scribble I had done on the front bulletin board, so my students could see how I wanted them done. The Scribble Box was kept in the back of the room. Every year I made sure each folder had enough Scribbles for the children. After the first Scribble was done together, the students could choose one to do during their free time. This activity was a major favorite with my 3rd graders.


14-16 OPEN HOUSE – Have the students write a note to their parents in their Journal. Then, on the same page, have the parents respond to their child. I had several bulletin boards I loved to use for Open House. When the boards came down, I made sure to put the student work in their Journal.

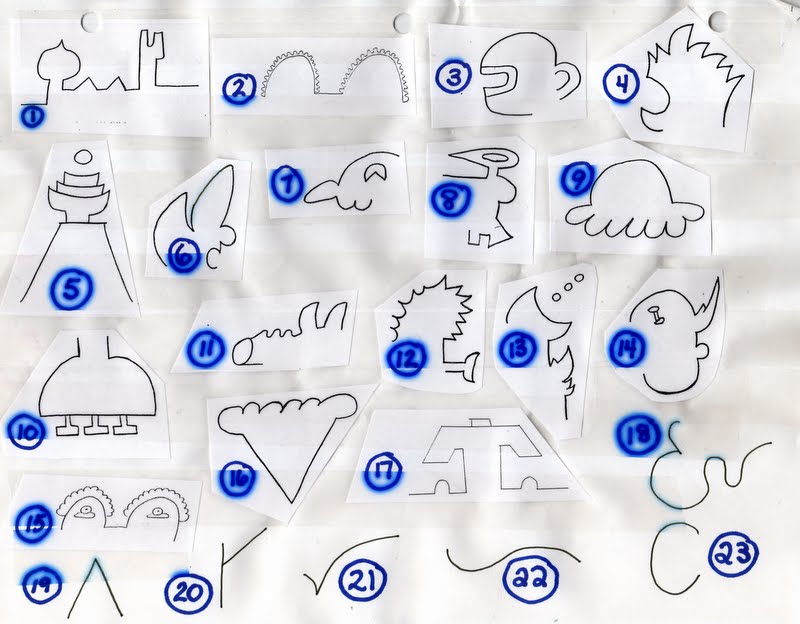
17. DIFFERENT STROKES FOR DIFFERENT FOLKS – Work on this together.

18-20. FIELDTRIP – Have students do a picture and writing to remember the trip. Make sure to add any pictures that you have.


21. LIVING ROSARY – Have students write about the experience.


 22-23. RECONCILIATION –Put the booklet on the left side and student writing is on the right side of the Journal.
Friday, September 9, 2011
DIFFERENT STROKES FOR DIFFERENT FOLKS


Monday, February 7, 2011
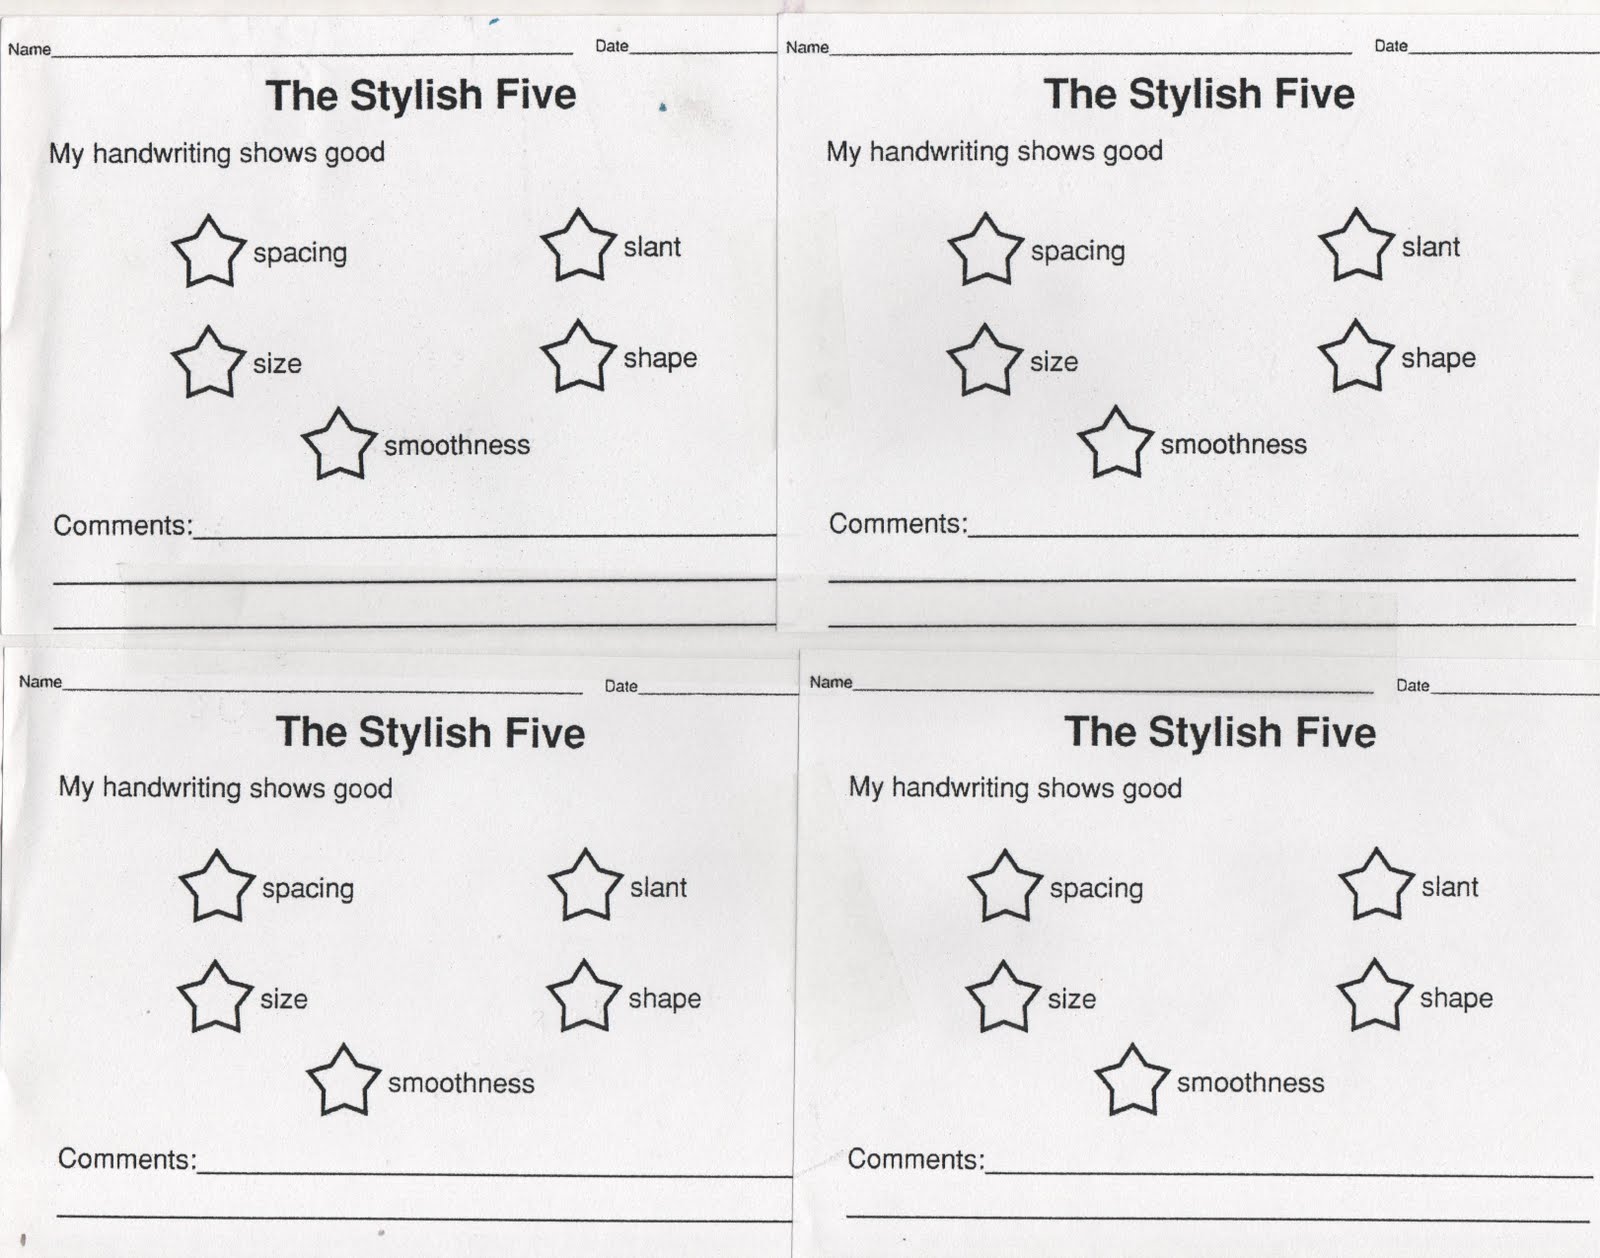
6 TRAIT EVALUATION FORM

Writing is one of the easiest work to differentiate. You can base your score on the student's improvement from prior evaluation and explain the improvement in your comments.
See more forms below.

Monday, January 31, 2011
MATH FACTS MAKER
This is an Excel Program a parent made to create math facts for one number. My son, adjusted it to build higher facts as the year went on and the students needed harder facts.
Addition includes add 1, add 2, add 3...
Subtraction includes sub from 10, 11, 12 on up to 100 and 1000, and I think you can adjust it to go higher.
Multiplication includes times 2, 3, 4, up to 9
Division includes dividing by 2, 3, 4, ...
This program is great even if your math program supplies Timed Tests. It allows you to do more practice with your students. This program is also great for differentiation, since you can easily pull Timed Tests each child needs.
See the BANANA SPLIT PROGRAM http://okscribbler.blogspot.com/2010/02/banana-split-program.html that helps 3rd graders with multiplication facts to 12. You could run a similar program in 1st or 2nd with addition and subtraction facts.
If you are interested, email me and I will send you the link from my computer with instructions on how to make different sheets of the same problem.
Hope you find this useful.
Wednesday, September 1, 2010
RECOGNITION


Subscribe to:
Posts (Atom)
