
Showing posts with label Beginning of the Year. Show all posts
Showing posts with label Beginning of the Year. Show all posts
Tuesday, December 20, 2011
CLEAN DESK INSPECTOR


Tuesday, October 25, 2011
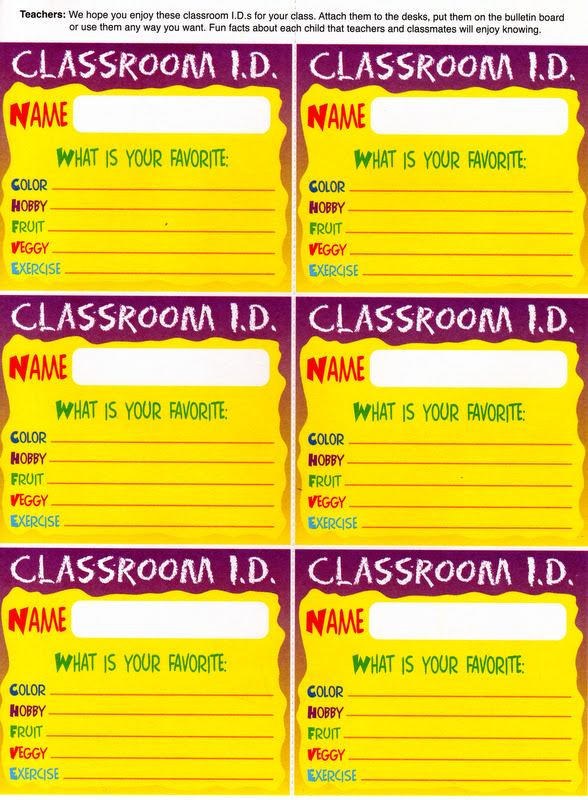
CLASSROOM I.D.
Sunday, October 23, 2011

WELCOME KITS FOR STUDENTS


To welcome your students into your classroom, put together Welcome Bags prior to school starting. My bags varied from year to year, but the contents were always the same. Below are papers that give a 'kiss' pattern to print on white lunch bags and the main paper to print on a kiss or colored paper. I gave these bags out the first day of school and homework was the student was to open with their parent so both could enjoy.


SEASONAL CAPSULE
Taken from Copycat Press 1992. It is out-of-print - http://www.wix.com/allenheathers/copycat-magazine-fan-page#!about If I was doing this at home, I would change the boxes to say bedroom instead of classroom.


Friday, October 7, 2011
STAR SEARCH

well-mannered, perceptive, smart, cute, sweet, nice, fun loving, obedient, happy, careful, good sport, task oriented, busy, trustworthy, honest, loving funny, intelligent, pretty, kind, helpful, good-humored, brave, graceful, sensitive, kind hearted, good mannered, truthful, honest, friendly, motivated, creative, artistic, shy, quiet, cheerful, giving


I thought this was on already this site, but I can't find it. I did this every year and the parents loved it. If you want to make it harder for the parents to I.D. their child, combine your class with another class. This project takes about a week to make it look really nice.
First, discuss each question in detail. You will do height and weight another session. Write items given by students on the board. Make sure students are writing NEATLY. Remind them to answer correctly, but try to make it hard for their parents to identify them. Once all the questions are answered, you move to the next step.
Next, discuss how to draw a detailed picture of themselves. It needs to be full body, but make sure students understand about eyebrows, lashes, pupils, fingernails.... I had the students use colored pencil for the picture.
Then, have students use magic markers to color the flag on the question paper and match it to the flag for the heading. While they are coloring, measure and weigh each child to fill in the answers on their page. At this time, trace left hand and right foot in construction paper. I chose contrasting colors - orange and yellow are good choices. So all feet and hands are traced on yellow and the orange is the back sheet.
Finally, have the students cut out the hands and feet, the banner, and the information sheet. Have them take their time, so it is neat. I always had my students cut on the outside of a black line. I even demonstrated it and showed that you have to cut slowly to do a good job. BEFORE THEY HAND IN ANY PIECES, have them put their number on the backs.
The Day Before Open House, have the students glue the pieces on the orange construction paper. Guide them through the process slowly, explaining that less glue is better, and careful placement is needed. If you have younger students you will need to do this part.
I made the title poster with a large poster board and large gold letters. I used a glitter glue pin. I kept it for over 20 years.
Wednesday, September 21, 2011
GRANDPARENT DAY
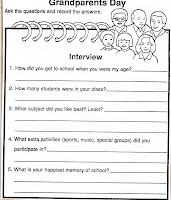
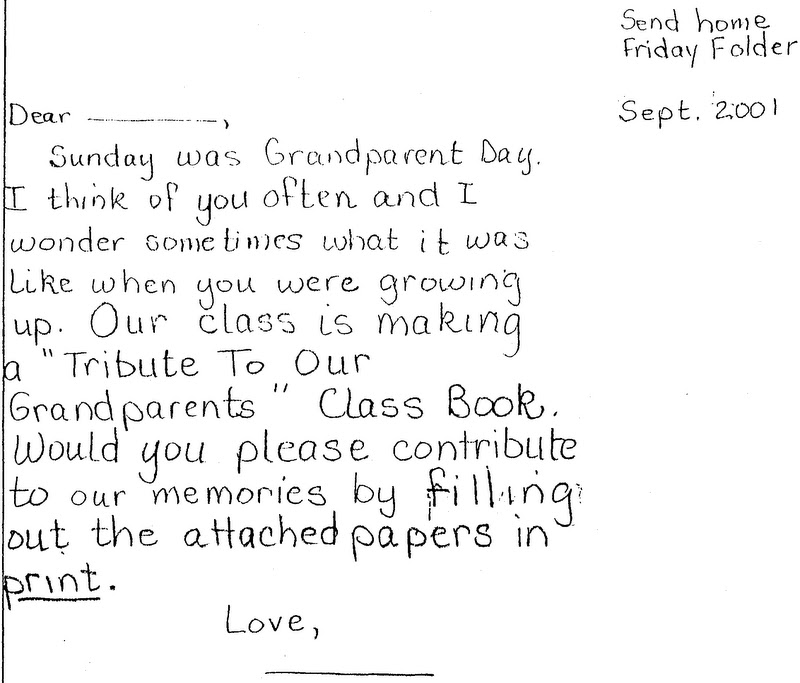
I love genealogy, so I always did this project. We wrote a letter to our grandparents, enclosing the questions (copied front and back). Each grandparent needs their own questions. There is also a worksheet that tells the price of items then and now. The students found that very interesting.
I had a 1 in. binder that I divided with the student names. The cover was labeled Marvelous Memories. When the letters came back from the grandparents, I would let the students share with the class and then add it to our Grandparent Binder.
We also filled out worksheets about our grandparents. I think you could send these to grandparents or keep in the student Journal/Memory Book.
In addition to the letters, I sent home the grandparent tree. I asked the parents to fill it out, as needed, due to the space limitations. These family trees went into our "Family Tree" Class Booklet. The students enjoyed both these books all year. At the end of the year, I made sure to add these precious papers to their Journal/Memory Books.
I had a 1 in. binder that I divided with the student names. The cover was labeled Marvelous Memories. When the letters came back from the grandparents, I would let the students share with the class and then add it to our Grandparent Binder.
We also filled out worksheets about our grandparents. I think you could send these to grandparents or keep in the student Journal/Memory Book.
In addition to the letters, I sent home the grandparent tree. I asked the parents to fill it out, as needed, due to the space limitations. These family trees went into our "Family Tree" Class Booklet. The students enjoyed both these books all year. At the end of the year, I made sure to add these precious papers to their Journal/Memory Books.
 |
| GP letter put inside of cover. |

 |
Cover for letter to GP.      |


Sunday, September 11, 2011
JOURNAL
JOURNAL PAGES:
Make sure you utilize both front and back sides of the Journal or you will run out of room. You glue/staple items into the left side of the Journals, or you can have a JOURNAL MOM do it, that comes once a month to complete your Journals. I would always do the mom's child's Journal to show the Parent Volunteer what I wanted the entries to look like and on what page. I added stickers periodically to give the Journal a bit of color. As you get better, you will be able to sit at your desk and add pages to Journals as the children are working on the project.
NONE OF THE JOURNAL WAS DONE DURING FREE TIME. I SCHEDULED THESE ACTIVITIES INTO MY DAY AS BEST AS I COULD. I USED THE JOURNAL TO TEACH WHAT I EXPECTED OUT OF THE STUDENTS AND AS A SPECIAL MEMORY OF THIRD GRADE.
1. Take a DIGITAL PHOTO of each child, in front of a nice colorful area in your classroom or outside. It can then be printed out on the color machine at school. No cost to you! Glue the picture on the inside front cover of the Journal, making sure you write the date and grade.

2. WELCOME FROM PAST STUDENTS - You will have to bypass this the first year, and do it at the end of the year, for the following year. Make sure you put the completed letters where you can find them at the beginning of the following year. I hand them out the 2nd day of school because you typically have a very busy first day, putting away all the student supplies and settling the students. You see they are in PRINT. I tell the students at the end of the year that NEW 3rd GRADERS might not be able to read cursive.

3. FIRST DAY FEELINGS This page may not be grade appropriate for you. You can find an alternative on the web if you look hard enough, or write the questions you want. http://okscribbler.blogspot.com/2010/08/beginning-of-year-get-to-know-you.html
4. FIRST DAY WRITING
I wrote on the board: This year I am a 2nd grader. Yesterday was the first day of school. First, I _____. Then, I _____. Next, I _____. My best friend in my class is _____. Finally, I _____. I know I am going to love _____ grade.
You need to discuss this assignment in DETAIL and write ideas on the board, or a chart so children can use them in their writing. Change the format as needed. Of course you will focus on the concepts your students need. The focus of this assignment was: paragraph organization and movement of writing with time order words (first, then, next, finally). I did not teach the concepts. I modeled it on the board. Other concepts discussed and expected to be seen were correct use of punctuation and capitalization.
I wrote on the board: This year I am a 2nd grader. Yesterday was the first day of school. First, I _____. Then, I _____. Next, I _____. My best friend in my class is _____. Finally, I _____. I know I am going to love _____ grade.
You need to discuss this assignment in DETAIL and write ideas on the board, or a chart so children can use them in their writing. Change the format as needed. Of course you will focus on the concepts your students need. The focus of this assignment was: paragraph organization and movement of writing with time order words (first, then, next, finally). I did not teach the concepts. I modeled it on the board. Other concepts discussed and expected to be seen were correct use of punctuation and capitalization.

5. SILLY HOME WORK - This assignment was sent out the 1st day of school. I explained to the children that good students always did their homework. I added that sometimes their homework would involve other people in their families. BUT, WE ALWAYS BRING BACK OUR HOMEWORK! I called each student that evening and welcomed them to my class, asked how the 1st day went, if they did their homework, and was it in their homework folder. PARENTS LOVED THAT (by the way, I did not talk to the parent...it was a child call...if child was not their, I left a brief message. THIS WAS NOT ABOUT THE PARENTS!

6. SUMMER READING LIST - If your school does this, I gave a treat after I collected them. If a child was new to our school, I sent a note to the parents asking for a list of the books they read over the summer and when it was brought in, I gave them the treat.

7. FIRST DAYS IN 3rd GRADE PICTURES - Parents loved lots of photos. Now you can take tons with a digital camera and print them on your school machine. Not as nice looking, but sure saves on your money. If parents bring in pictures from Field Trips, I try to divide them up among the books.
8. MEMORIES OF 2nd GRADE WRITING -
I wrote on the board: My favorite memories of Second Grade are ____(1)_____, ____(2)_____, ___(3)______. A sentence about (1). A sentence about (2). A sentence about (3). A final sentence about 2nd grade.
You need to discuss this in DETAIL and write ideas on the board, or a chart so the children can use them in their writing. Change this idea as you need. Of course you will focus on the concepts your students need. The focus for this paragraph was organization - writing three ideas in the TOPIC SENTENCE and then expanding the ideas in the THREE DETAIL SENTENCES. I did not teach that concept, it was modeled on the board. I did expect proper capitalization and punctuation.

9-10 APPLE/SUN COLORING - I taught how to color by using papers like these. You purchased the book last year from me - (oops, it is upstairs in your stack of stuff that I am copying before I give to you.) I will send you copies and finish copying and get to you ASAP. ANYHOO... The apple was a study of cool and warm colors. Choose 2 cool colors for background and then 2 warm colors for the apple (dark red/red). I insisted on NO WHITE SHOWING and COLORING IN ONE DIRECTION. So this was not a fun sheet, that was wasting time. I was teaching FOR THE FUTURE COLORING SKILLS. By the way, I also taught CUTTING SKILLS by having them cut the trim off of their work as close to the black line as possible WITHOUT cutting into the black line.
http://okscribbler.blogspot.com/2011/08/johnny-appleseed-coloring.html

12-13. SCRIBBLES – I introduced Scribbles as a way for the students to use their “free time” when they were done with any work and to help them grow in their personal writing skills. The first time we did a Scribble, I handed out the same one to each student. After we had drawn and colored our pictures, I had show and tell. This way the students could see how anything they chose to draw was fine. There was no set answer. Then, we wrote our stories the next day. Everyone had fun.
I also put a Scribble I had done on the front bulletin board, so my students could see how I wanted them done. The Scribble Box was kept in the back of the room. Every year I made sure each folder had enough Scribbles for the children. After the first Scribble was done together, the students could choose one to do during their free time. This activity was a major favorite with my 3rd graders.


14-16 OPEN HOUSE – Have the students write a note to their parents in their Journal. Then, on the same page, have the parents respond to their child. I had several bulletin boards I loved to use for Open House. When the boards came down, I made sure to put the student work in their Journal.

17. DIFFERENT STROKES FOR DIFFERENT FOLKS – Work on this together.

18-20. FIELDTRIP – Have students do a picture and writing to remember the trip. Make sure to add any pictures that you have.


21. LIVING ROSARY – Have students write about the experience.


 22-23. RECONCILIATION –Put the booklet on the left side and student writing is on the right side of the Journal.
Subscribe to:
Posts (Atom)


